Decide what the deadline is before anything else
A countdown timer is only as honest as the deadline behind it. Before you open any app, write down what actually ends and when: a sale that closes at midnight on Friday, a daily order cut off for same day shipping, or a first order offer that lasts thirty minutes from a shopper's first visit. Each of those is a different kind of timer, and picking the wrong kind is how a real offer ends up looking fake.
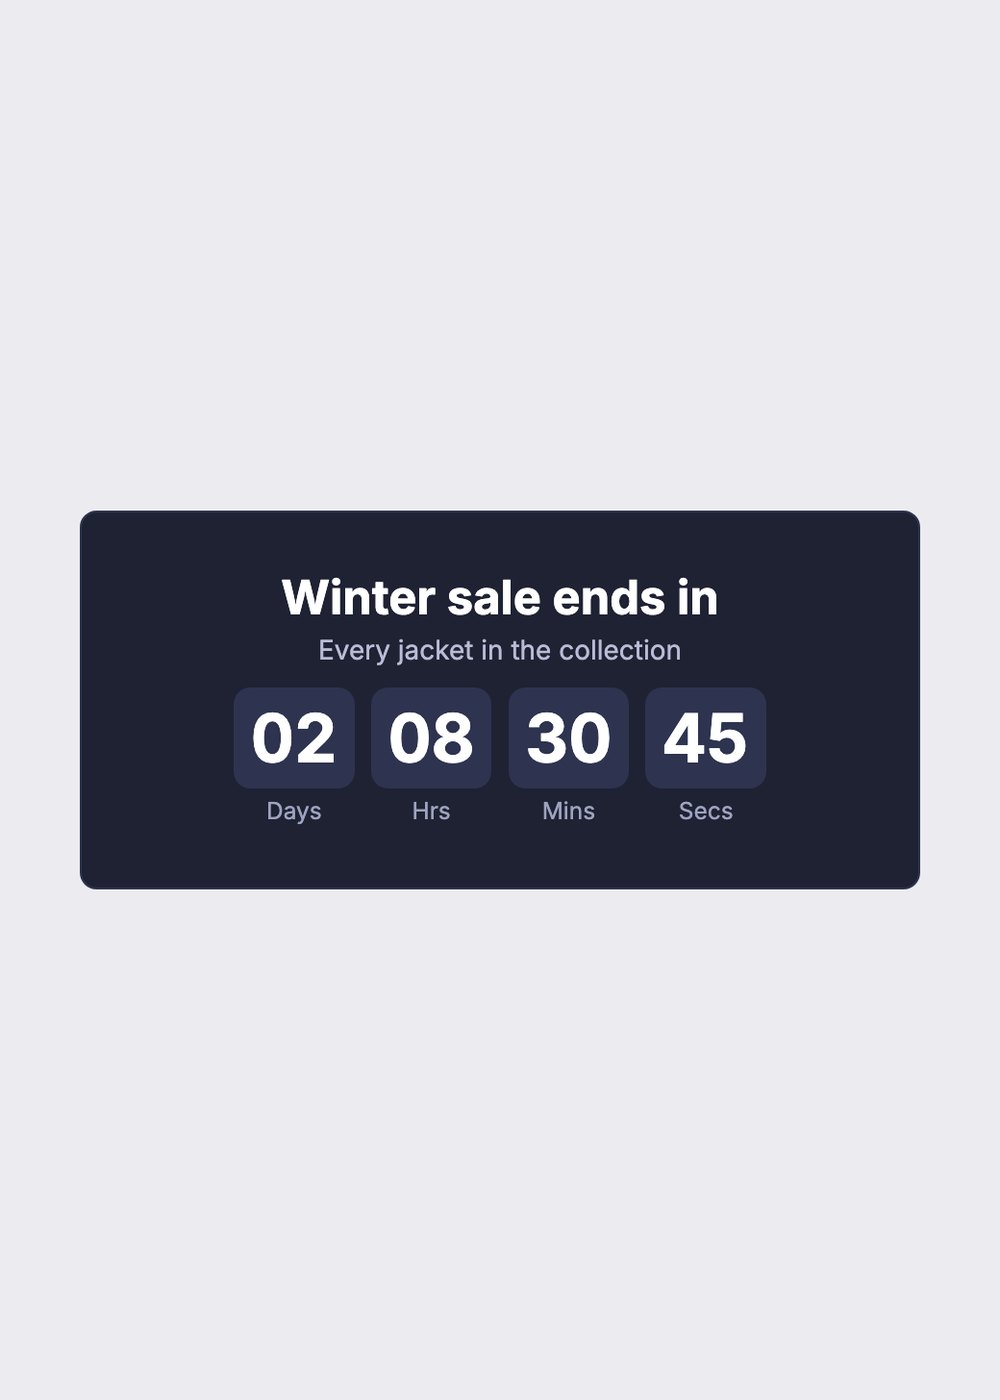
A fixed end date counts down to one moment that is the same for everyone, which suits a sale or a launch. A recurring timer repeats every day or every week, which suits a shipping cut off. A per visitor countdown starts when each shopper first sees it, which suits an offer that really is personal. A scheduled start keeps a timer hidden until the sale begins, so you can set it up days ahead.
Then decide what happens at zero. Hiding the timer, or replacing it with a short message such as "This sale has ended", keeps faith with the shopper. A countdown that quietly starts again on the next page load is a deadline that never comes, and a shopper who reloads the page sees it. In TreStack Timer, restarting is never the default: per visitor and cart timers hide at zero unless you change it, and the editor warns you when you pick Repeat.
Choose where shoppers will see it
Put the timer where the decision happens. On a product page that usually means just below the Add to cart button, where the shopper is already weighing the purchase. A bar across the top or bottom of the store suits a store wide sale, because it follows the shopper from page to page. A timer at the top of a collection page suits a sale on one range of products.
A cart timer suits limited drops. In TreStack Timer it can remove the store's own items from the cart when it runs out, so say that plainly in the timer's text, and leave the option off if you would not enforce it at the till.
One timer per spot is plenty. A bar, a product timer and a cart timer counting down to three different moments on one page compete with each other and with your product photos. If two deadlines are real, put each one where it applies. A countdown can also go into marketing email, as an animated image that shows the time left when the email is opened; the docs below cover it.
Adding it with an app, without touching theme code
Look for a timer app built as a theme app extension. It switches on from the theme editor as an app embed and, on Online Store 2.0 themes, places blocks where you choose, so no Liquid file is edited and nothing is pasted into your theme. When you uninstall it, the embed and its blocks go with it. That matters more than any feature list, because code pasted into a theme stays there after the app is gone.
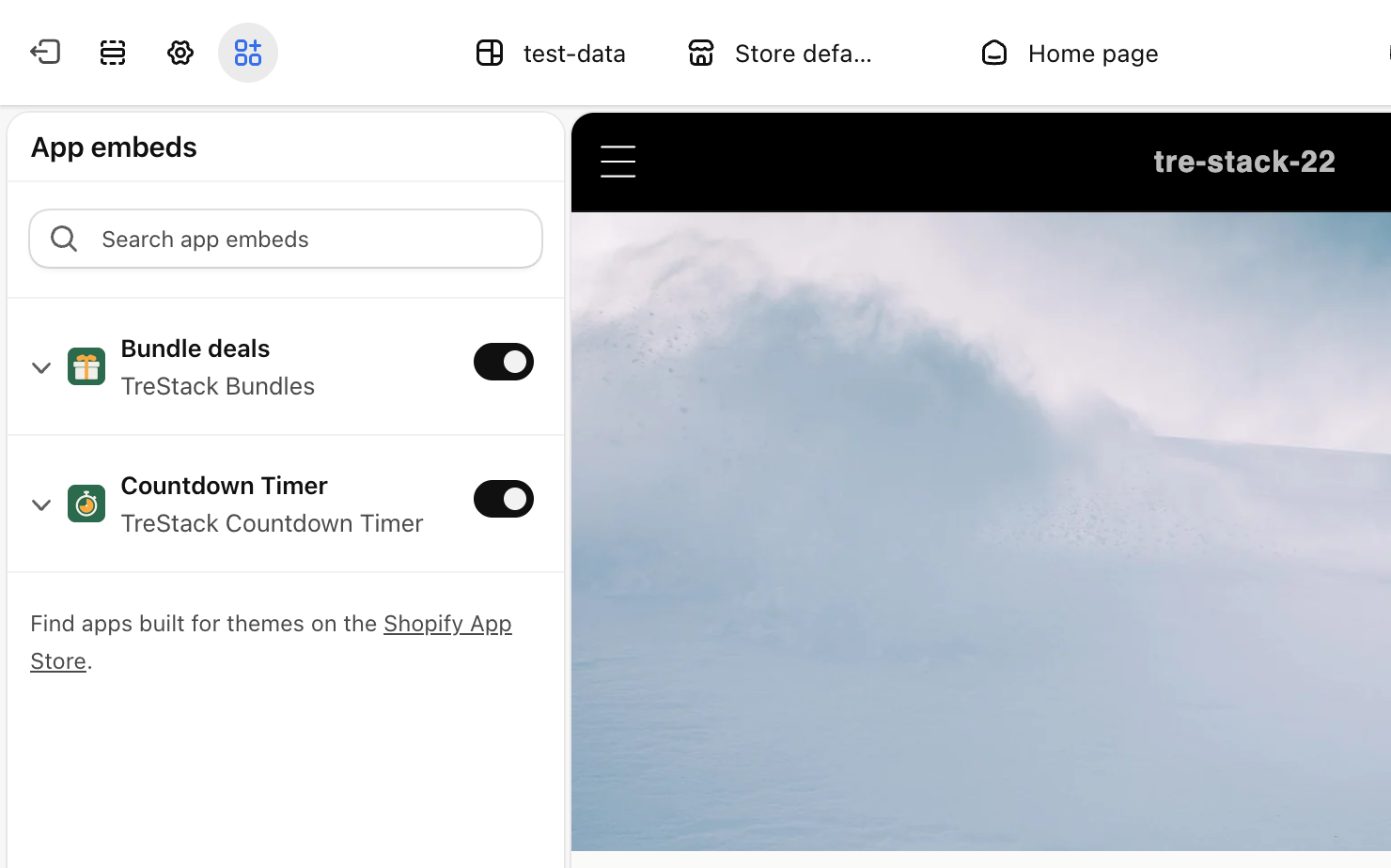
With TreStack Timer, which we make and which is free, the steps are these. Install it from its Shopify App Store listing and pick the Free plan on Shopify's own plan page. On the app's Home, a button opens the theme editor at the app embed switch; turn it on and save. Then choose Create timer, pick Product page, write the text, set the countdown and what happens at zero, start the design from one of the 20 color presets, choose which products it shows on, and publish.
The product page timer finds its own spot below the Add to cart button once the embed is on, so it needs no block. To put it somewhere else on the page, set its placement to a custom position and add the app block in the theme editor; the same fix works on pages made with a page builder, whose own Add to cart form the automatic spot may not find. The editor's preview uses the same code as the storefront, so the design you approve is the one shoppers get.
If you would rather write the code yourself
A timer can be written by hand: some Liquid in the product section and a small script that counts down. It costs nothing, and for one fixed date on one theme it can be enough.
The cost comes later. The code lives in theme files, so moving to a new version of your theme leaves it behind and you copy it across by hand. Time zones need care, because the shopper's clock is not the store's. A daily cut off, a different timer per collection, or the text in a second language each adds more code to keep working. Taking it off means editing the theme again.
If you go this way, work on a duplicate theme and keep a list of every file you change. The guide on app blocks and hard coded snippets, elsewhere on this hub, shows what that code looks like in a theme and why it behaves differently at upgrade time.
Check the cost on your own store
Anything added to a page has a cost, and the number that matters is the one measured on your own theme. Run Lighthouse on a product page before you install, three times, and write down the median. Do the same once the timer is live, on the same page, and compare the two.
For reference, TreStack Timer's storefront script is 11.4 KB gzipped, measured on 26 September 2026. In one Lighthouse test on Shopify's Horizon theme, a product page with a top bar and a product timer showed no measurable drop in the performance score, over five runs with the app and five without. That is one measurement on one theme, not a promise for yours, which is why the check above is worth ten minutes.
In the TreStack Timer docs
New to the app? What TreStack Timer does, or install it from the Shopify App Store.
On the same subject
Setting a baseline before you install anything. Ten minutes of screenshots now settles an argument later. The four pages worth capturing before an install, and what to record about each one.